It turns out that there are some very good reasons to get better at taking photos of yourself. And they may not be what you think. Here’s how to do it.
Solo Photography Tips Beyond Asking a Stranger to Take a Snap
When I look back at old photo albums, it looks like a ghost was travelling. First, I hated how I looked in photos; second, I felt far too self-conscious having the photo taken – and then even if I’d jumped over those psychological hurdles, I didn’t really have the tech know-how.
So, yes, one of the odd things about solo travel is that you can spend weeks exploring extraordinary places and come home with very little evidence that you were actually there.
But as the years have passed, I really treasure those few old photos I have of myself. And, even more so, I love the photos of, well, my loved ones. There’s a faded snap of my parents in Nigeria, when they met in their twenties, and I only wish there were more.
Not More Selfie Sticks!
And yes, while the selfie obsession we sometimes see is concerning, there’s definitely a middle ground.
I’m not going as far as saying that you owe it to your unborn children to take photos. But, well, something along those lines!
So, through years of trial and error, here’s my guide to help you get the perfect shot without turning your trip into a full-on photo shoot and missing out on actually having fun.
Fortunately, you don’t need professional photography gear or a DSLR camera to take amazing travel photos. With a few simple techniques, it’s possible to capture natural-looking images when you travel alone, whether you’re using a smartphone, a DSLR, or simply asking the people you meet along the way.
Here are my favourite ways to take better photos when travelling alone.
Why Most Photos When Travelling Alone Don’t Work
If you’ve ever looked at your pictures on a solo trip and felt disappointed, you’re not alone. I could write a whole laundry list of things that went wrong, but the most common culprits are:
- Cropped landmarks.
- Awkward arm-length selfies.
- Distorted faces caused by wide lenses.
- Poor lighting.
- Rushing because you’re worried about holding people up.
- A lot of concrete on the floor (a pet peeve of mine, but I’ll explain fully later.)
Learning a few solo travel photography tips can make all the difference.
First Up: Lens Buddy
Maximise your chances of a decent pic by using this handy app. Lens Buddy makes it easier than ever to set a timer and take a burst of photos, way more than your standard phone does.
It also makes it easier to quickly swipe through and choose the ones that look half-decent, so that your phone library isn’t jammed with one hundred photos of practically the same thing.
Second: Positioning the Camera
You have a range of options when getting ready to take a photo. Let’s take a look at them in order.
Asking Someone to Take Your Photo
Sometimes the simplest answer is to ask someone. It’s quick, fairly easy, but I would say it’s a 50/50 as to whether or not you get a good shot.
I’m assuming that, as you’re here reading Inside the Travel Lab, you are already the kind of person who knows not to be obnoxious when asking. A quick, direct request with a smile will do.
Don’t keep asking someone to do it, and don’t barge into queues. Travel is always easier when we remember that everyone else is trying to enjoy the place too. That’s all part of being a responsible tourist.
I’ve found that other travellers are usually happy to help, particularly fellow solo travellers. If I’m travelling solo and see another person with a camera, I’ll often offer to take their photo first. More often than not, they’ll offer to return the favour.
If you’re nervous, ask a stranger who also appears to be taking photographs. They understand exactly what you’re trying to achieve.
One useful trick is to frame the shot first and then show the person exactly what you’d like. That way, they’re using your camera and can see the composition you had in mind.
But… it’s fascinating to witness how someone will take your framed shot and move the camera before your very eyes, resulting in a different shot while saying “yeah, yeah, like this?”
Which is one reason I started looking for alternatives.
Propping Your Phone
You can get some really good solo travel photos just by propping your phone against something in the environment and using the timer. This works best with phone cases that open like a book and for shots where the camera is looking up at you.
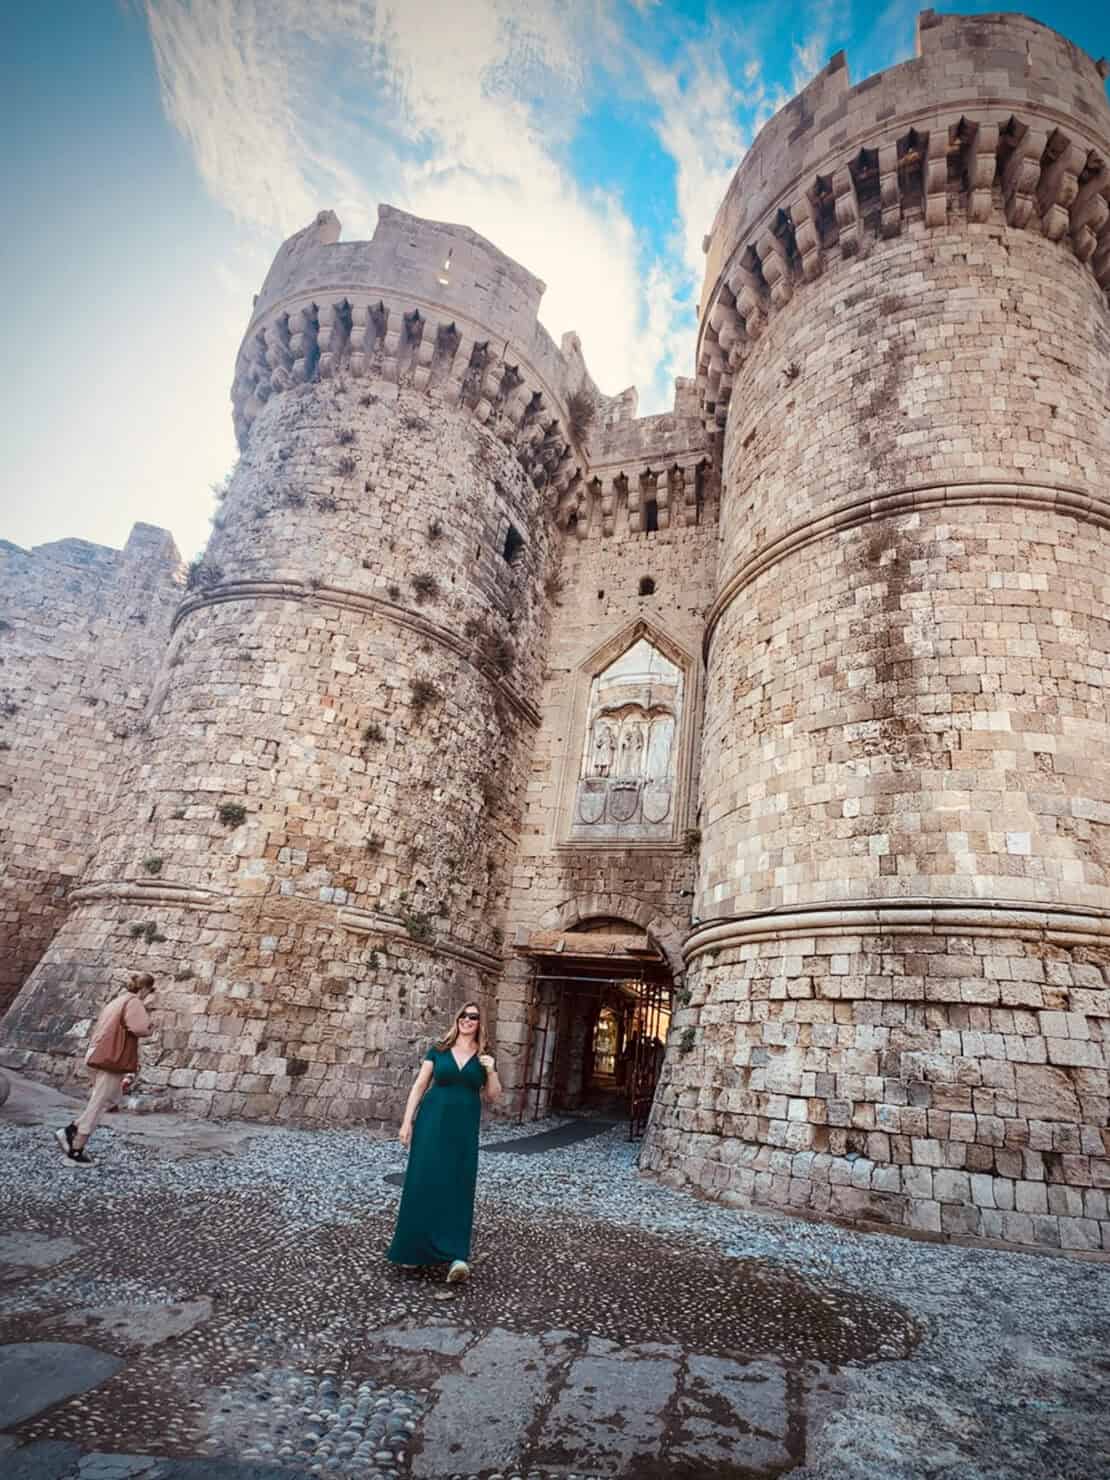
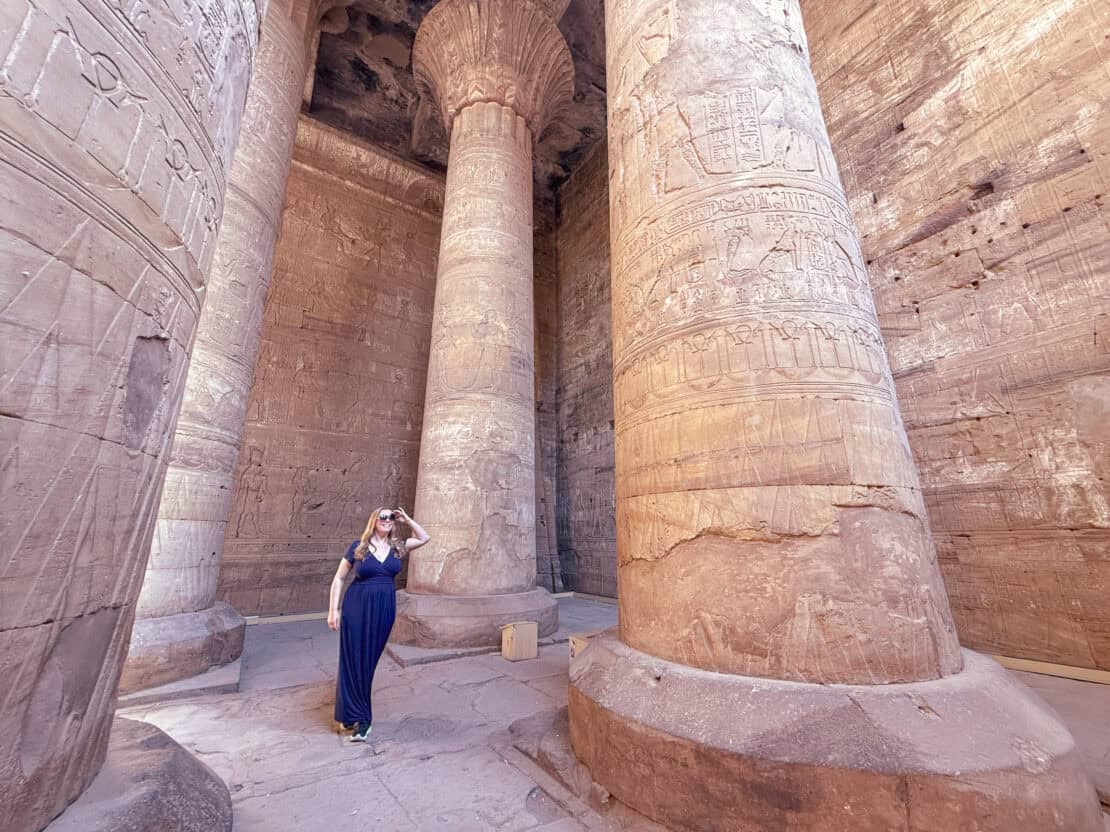
I tend to use it when hiking because you can often find a tree stump or fence that works as a decent tripod. Museums sometimes have flat areas at the base of pillars, which work pretty well, too.
But, there’s not always the right natural shelf, which brings me on to the next step.
Use a Tripod for Complete Control
A lightweight travel tripod gives you complete control over composition and allows you to use the timer function on your smartphone or camera.
I often use a tripod during sunrise shoots when there are few people around. It also works particularly well if you’re planning a road trip, as travelling by car makes it much easier to carry extra gear. You can seek out quieter locations away from the crowds, giving you more time and space to experiment with different compositions.
Tripods have come on in leaps and bounds since I first started twenty or so years ago – they’re so much lighter than before and easier to assemble. That said, it’s still an annoying object to lug around when you’re travelling and, again, plenty of museums and exhibitions ban them outright.
Pros
- Full creative control.
- Consistent framing.
- Perfect for taking beautiful photos at golden hour.
Cons
- Some attractions don’t allow tripods.
- Setting up takes time.
- It can feel slightly awkward in crowded places.
If you use an iPhone, a compact iPhone tripod can easily fit inside a day bag and doesn’t add much weight. I also like the Gorilla Pod, which can grip onto uneven surfaces like branches or chair legs.
Get a Bluetooth Remote for More Natural Photos
You don’t always have to race against the timer. Another option is a Bluetooth remote.
A Bluetooth remote is one of those small pieces of photography gear that can make a surprisingly big difference. Instead of running back and forth to beat the shutter timer, you simply press a button when you’re ready.
This works well if you’re using a tripod and want to capture movement rather than static poses. Walking along a street in Rome, adjusting your hat on a windy beach or sipping coffee outside a Paris café all feel much more natural than staring directly at the lens.
The downside? Like any small gadget, Bluetooth remotes are easy to lose. They are also one more thing to charge at night. But for many solo travellers, they’re worth carrying.
Are Selfie Sticks Still Worth It?
I’ll admit that I resisted the selfie stick for years.
But while they once became something of a travel cliché, modern versions are far more useful than they used to be. Some combine a selfie stick with a mini tripod and Bluetooth shutter, making them a versatile tool for solo photography.
A selfie stick can help you:
- Include more of the scenery.
- Fit groups into the frame.
- Capture awkward angles.
- Take selfies without stretching your arm into the picture.
That said, selfie sticks still have limitations. You can usually tell when a picture has been taken with one, and image quality still depends on the camera you’re using. Plus, you have to carry it around, remember to charge the battery, and plenty of museums and the like will not let you bring them in.
Which brings me to the biggest lesson I’ve learned about travel photography.
If possible, don’t use the selfie camera
Most of us instinctively use the selfie camera because it’s so much easier to take pictures when you travel when you can see yourself.
But the front camera on most smartphones simply isn’t as powerful as the rear camera.
The rear camera typically offers:
- Better detail.
- Improved low-light performance.
- More accurate colours.
- Greater dynamic range.
- Higher resolution.
- A wider field of view.
It’s particularly noticeable when you’re travelling at sunrise, shooting in dimly lit restaurants or trying to capture evening scenes. All those romantic moments, basically.
A New Approach: Using the Insta360 Snap
After years of timers, tripods and asking strangers to take my photo, I recently started experimenting with the Insta360 Snap.
The concept is surprisingly simple.
Instead of relying on the selfie camera, the Snap attaches to the back of your smartphone and provides a live preview while you’re using the much better rear camera.
In practice, that means you can frame yourself properly without sacrificing image quality.
Prime Day Discount: 23rd June – 7th July 2026
For a limited time only, you can get 10% off the Insta360 Snap Selfie Screen!
- Insta Snap (with light): RRP £82.99 | NOW £74
- Insta Spa (without light): RRP £72.99 | NOW £65
Plus, get a free carry bag if you buy through the Travel Lab link.
GET THE DEAL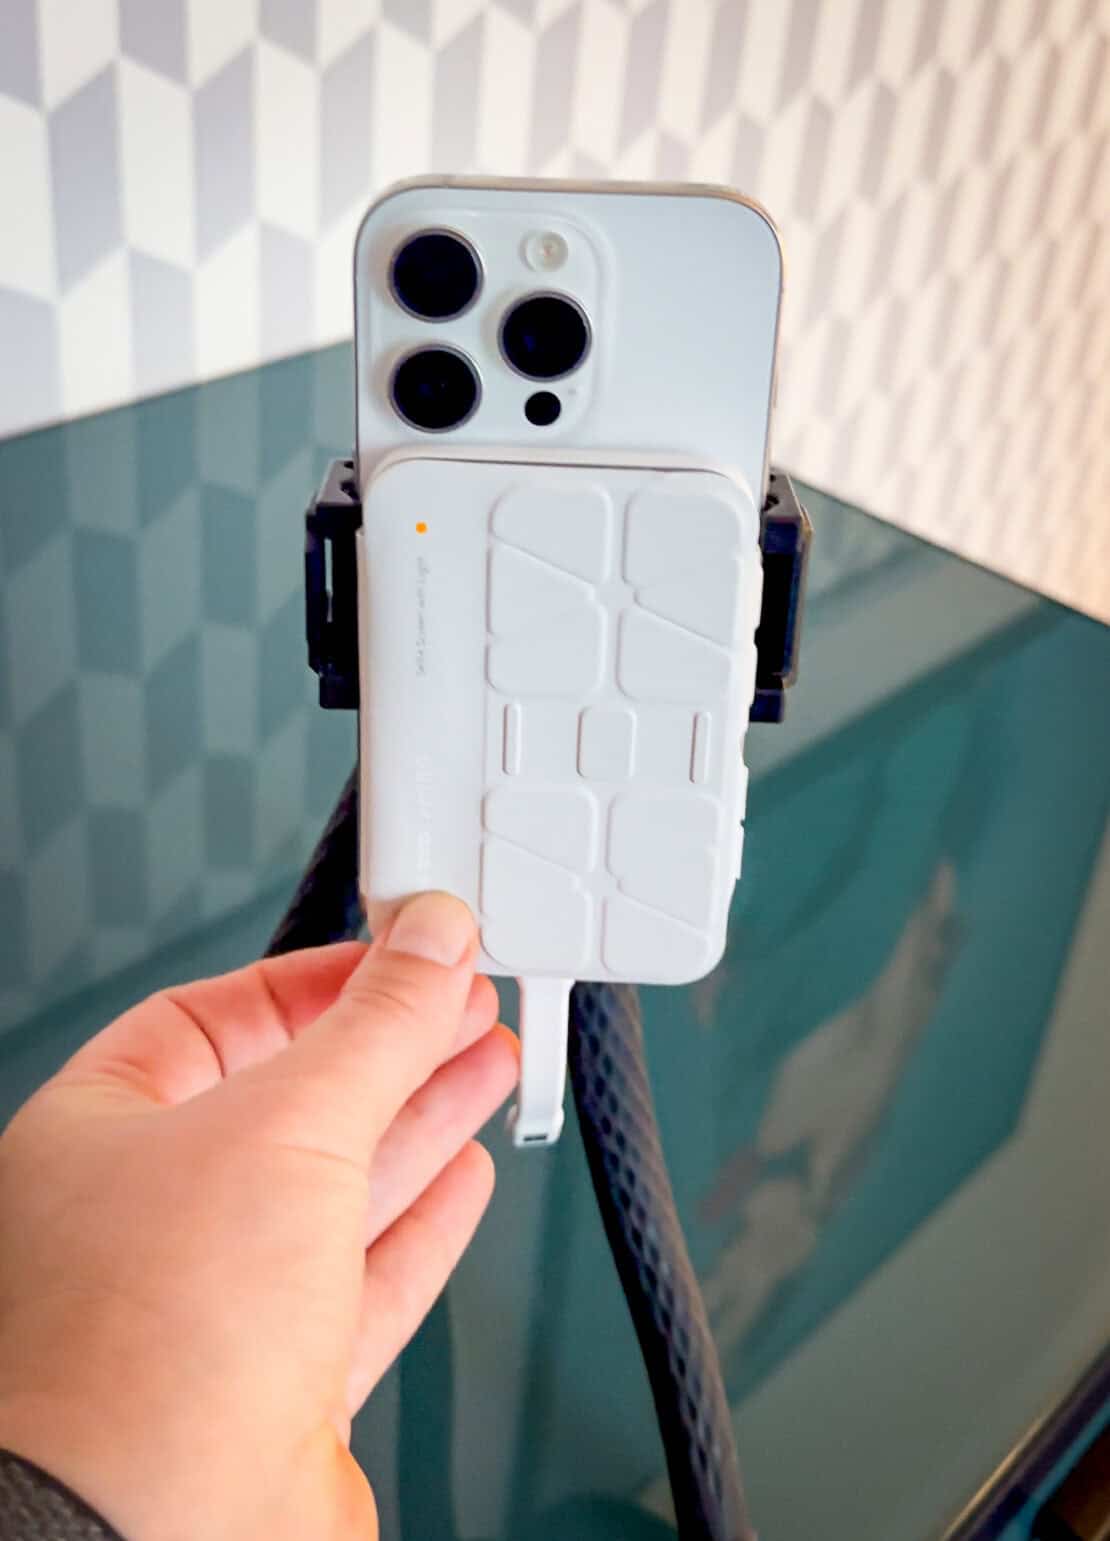
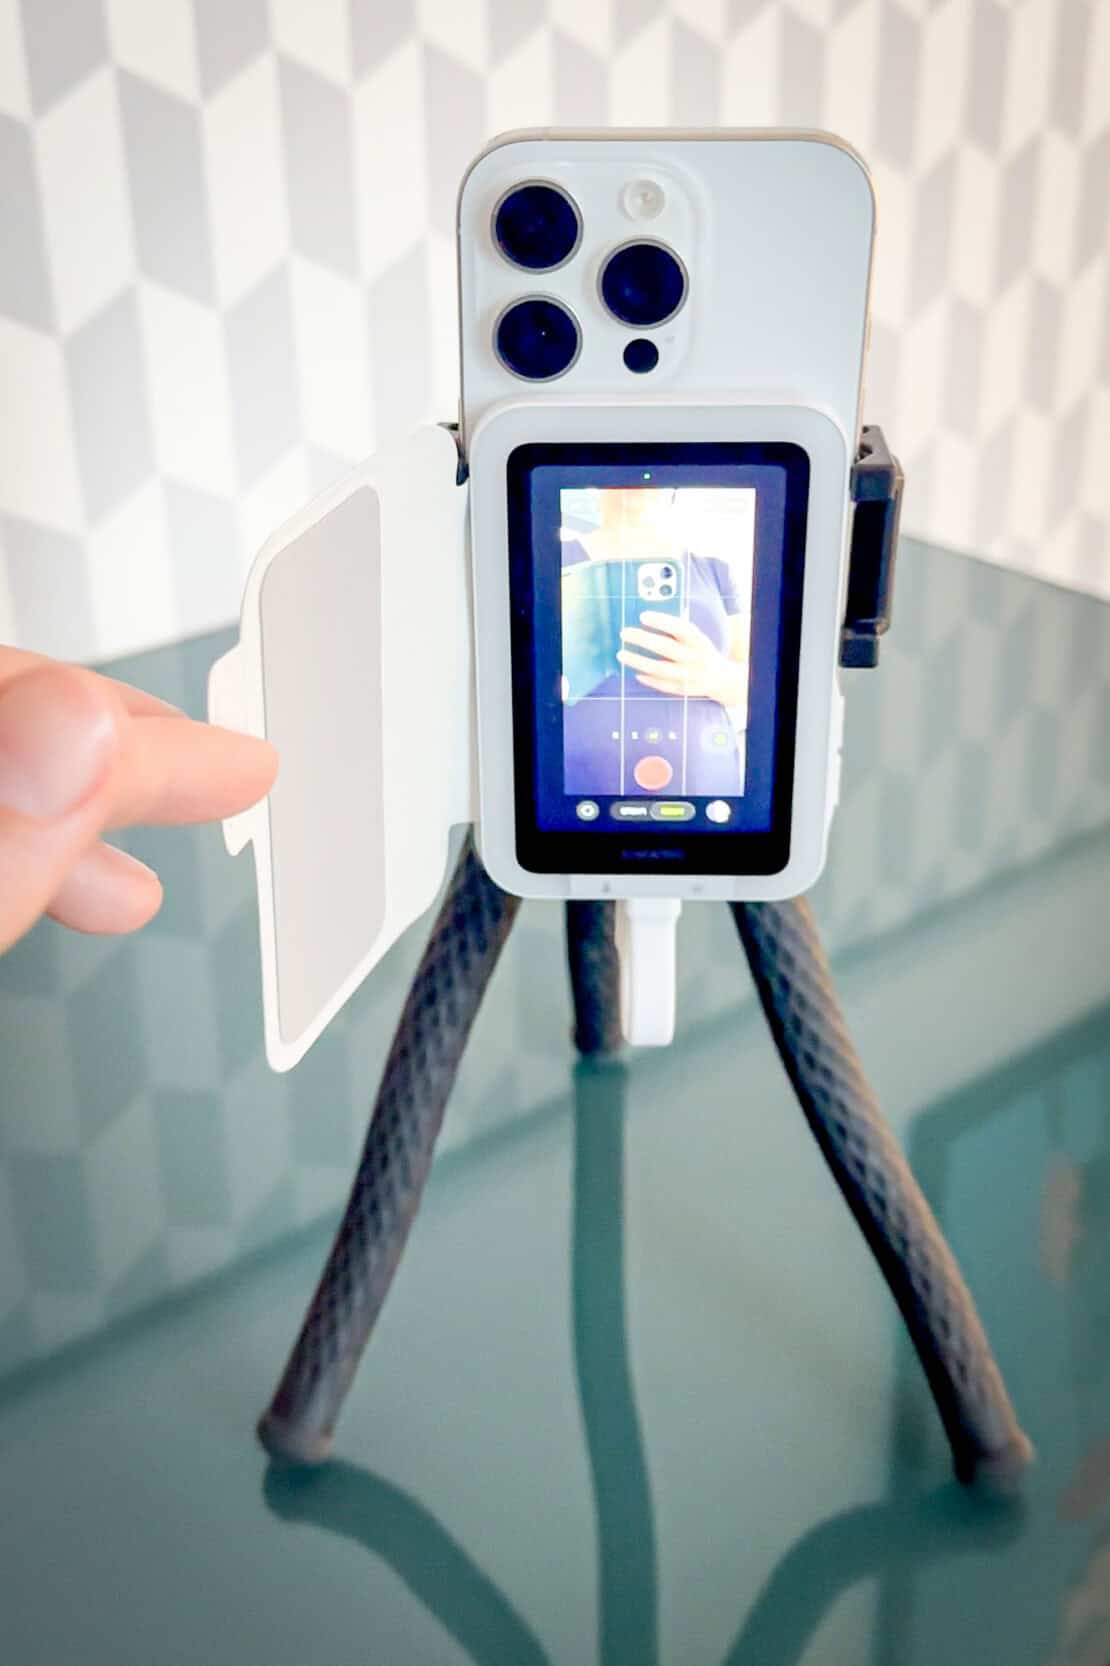
What Is Insta360 Snap?
The Insta360 Snap is a small magnetic display that attaches to compatible smartphones using MagSafe.
Once connected, it mirrors what the rear camera sees, allowing you to compose photographs and videos while benefiting from the superior quality of the phone’s main camera.
For anyone who regularly travels alone, the idea makes a lot of sense.
It can be useful for:
- Solo travel photography.
- Couple photos.
- Family holidays.
- Group selfies.
- Video content and vlogging.
Setting Up the Insta360 Snap
Setup is refreshingly straightforward.
Step One: Attach
The device snaps onto the back of your phone using MagSafe.
Step Two: Connect
Connect the cable and follow the setup instructions. Side note – this is a big difference when compared to other selfie cameras I tried. The other ones needed a Bluetooth connection, which then interfered with the Bluetooth remote or other networks and was just more of a faff. Plus, you don’t need to remember to charge it with another gazillion devices at the end of a long travel day.
Step Three: Shoot
Open your normal camera app and start taking photos with a live rear-camera preview. You can use the Insta360 Snap touch screen, too, which saves time.
Using Insta360 Snap While Travelling
I found it particularly useful in situations where the selfie camera usually struggles.
City Breaks
Standing in front of landmarks often means guessing whether you’ve cropped off half the building.
Using the rear camera preview made composition much easier.
Group Photos
Group selfies are notoriously difficult.
The wider field of view available through the rear camera meant everyone fitted comfortably into the frame.
Low-Light Situations
This was probably where the difference became most noticeable.
Restaurants, evening walks and night markets all benefited from the improved image quality of the rear camera.
Video
The Snap also works well for video, especially if you’re recording pieces to camera while travelling.
What I Liked About Insta360 Snap
After testing it, several things stood out.
Better Image Quality
This is really the biggest advantage.
Being able to use the rear camera consistently produced sharper, more detailed images.
Less Reliance on Strangers
While I still happily ask someone for help from time to time, I like having better options too.
Lightweight and Compact
Unlike carrying larger photography gear, the Snap takes up very little room.
Useful for Both Photos and Video
As someone who creates content across different platforms, I appreciated the flexibility.
The gadget also allows you to turn on a ring light, which helps when taking photos of your face, and you can switch the colour tone from warm to cold.
What Could Be Better
No product is perfect.
- It’s another accessory to pack.
- Compatibility may vary depending on your phone.
- The text on the screen is a little small for my older eyes!
- When attached, it makes it harder to use tripods, which is frustrating.

Is Insta360 Snap Worth It?
If you rarely take photos of yourself, probably not.
But if you’re a solo traveller, content creator or someone who always returns home wishing there were more pictures of you in your own adventures, then I think the concept solves a genuine problem.
Also, for big family snaps, this way it’s so much easier to see whether everyone is in frame. I haven’t shared a photo of that here because my family are pretty private souls. But it will save me loads of hassle at family get togethers!
A Few More Tips for Taking Great Photos
I would be remiss if I didn’t mention three more things that make all the difference in the world. They are huge topics in their own right, but as I’m at the airport typing this, I just want to introduce you to the general principles.
Light
Natural light is best unless you have a full photo studio. (And even then…) The soft, golden light around sunrise and sunset is the most forgiving and rainy days can be surprisingly good, too, if you want to take amazing photos.
Avoid trying to take photos of people in bright sunshine at midday. The shadows appear harsh and will block out people’s faces.
Another tip for taking photos alone is to look for outdoor areas with light-painted walls. They bounce light onto your face in a flattering way, which, let’s face it, makes us all feel better afterwards.

Posing
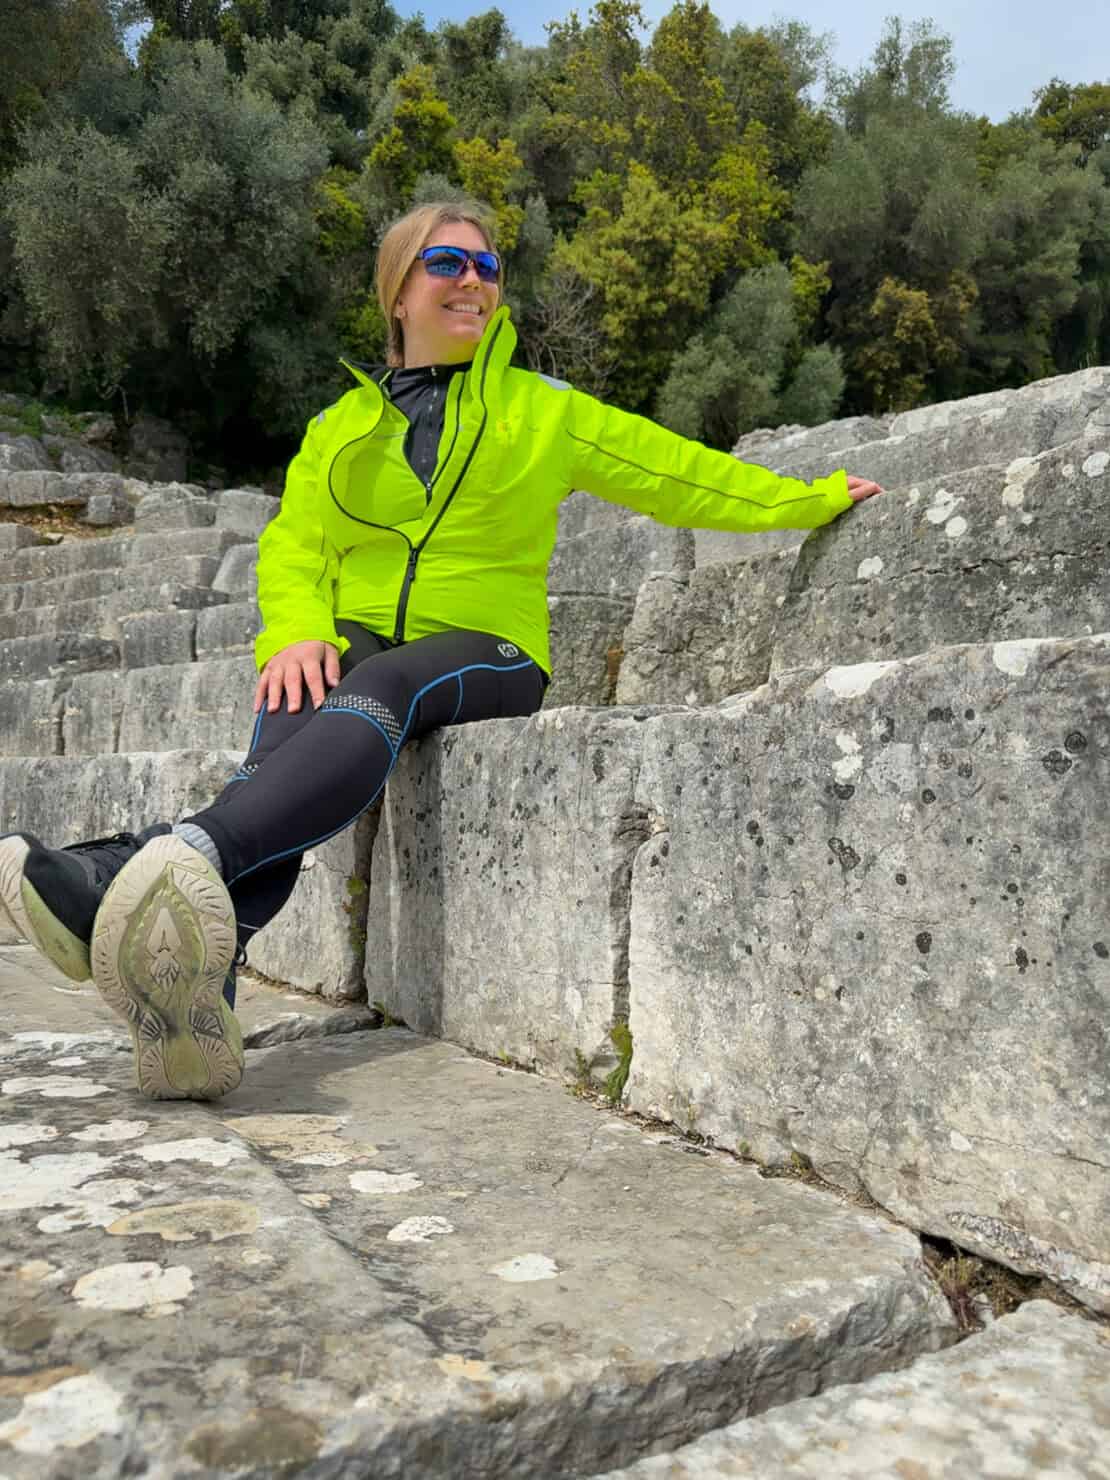
Eesh. Again, if you’ve landed on this site looking for how to take travel photos alone, then I’ll also assume you’re not a natural-born poser. Nor was I. I hated it.
But since I had to get up to speed for work, I learned a few basic poses and here are a few that belong in any guide to taking better photos.
In short, the more ridiculous you feel at the time, the more natural the photo will look afterwards. If you try to look natural, you will likely end up looking – sour, grump or just odd!
Over the years, I’ve shared these tips when on group tours, and people start by laughing, then copying, then loving the results.
So, here are some quick ones, and take a look at my Instagram to find more ideas:
1) Do something with your hands
Hold one hand up to your sunglasses, run it through your hair, put your arms out on the railings, hold a cup of coffee. Something. Anything! Just not down straight by your side.
2) Use the selfie mode
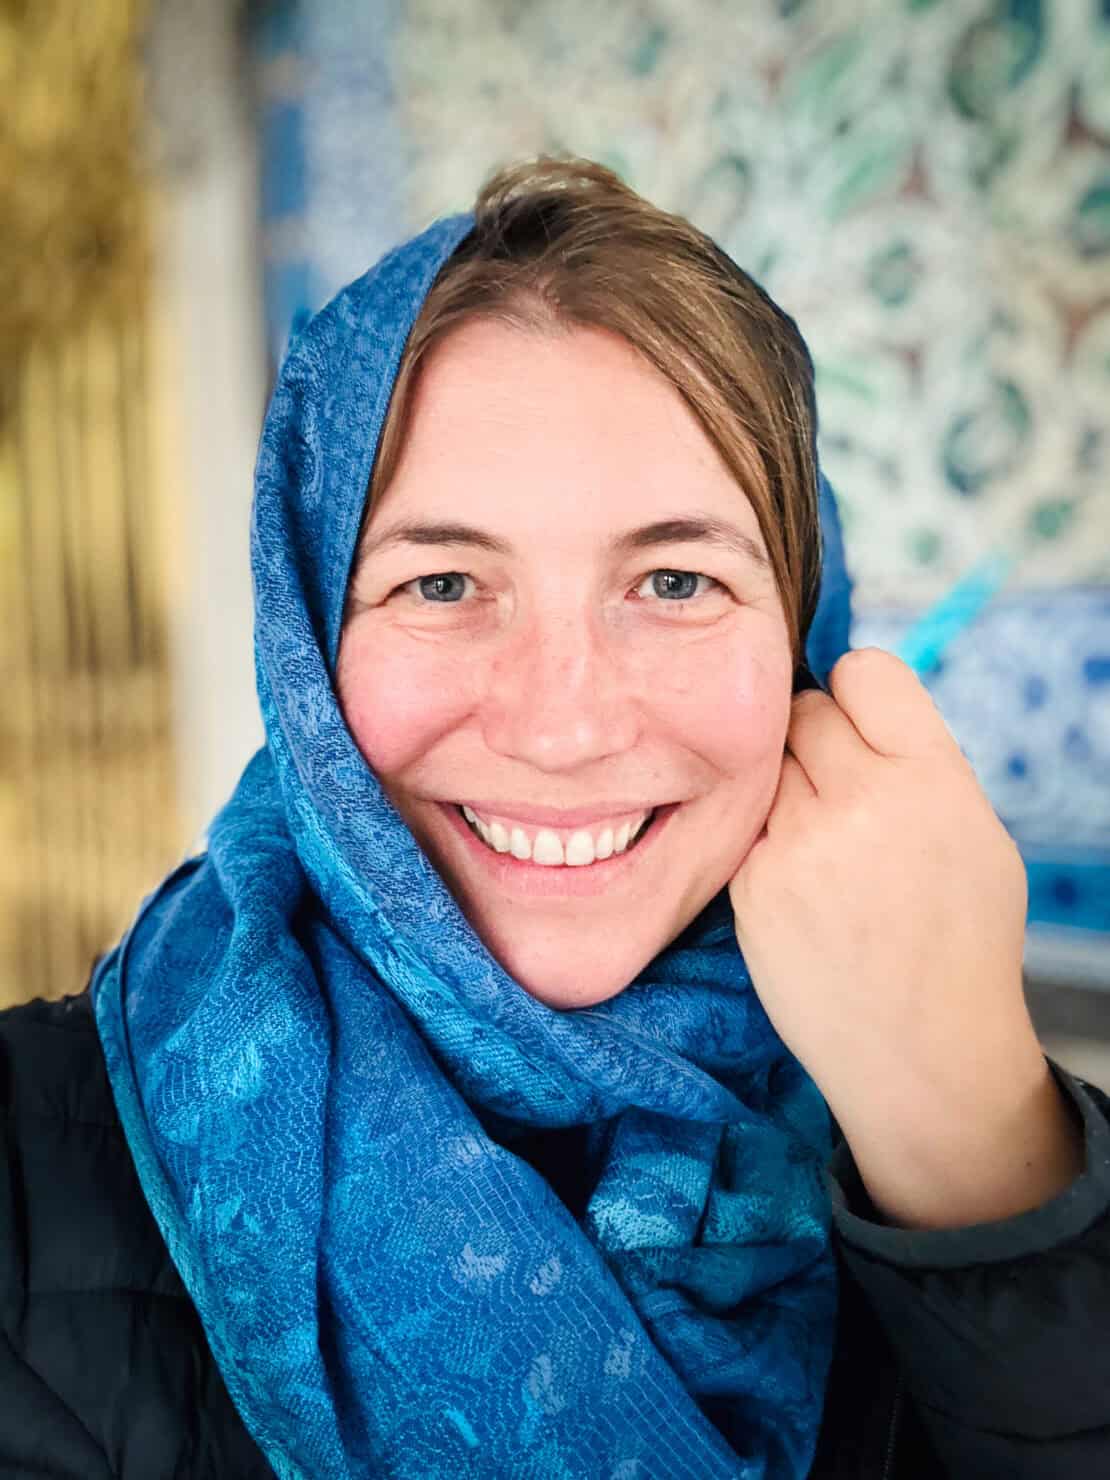
You’re not threatened by yourself, right? Take a look at your own face and have fun with it.
See also this video on YouTube on how to look better on camera.
Photo Editing
Here’s a truth every great photographer knows: to get really amazing pictures, you need to edit them afterwards.
It’s not cheating. Our eyes and brains are simply more sophisticated than our tech, so you need to tweak the pixels to get the final image closer to the one that you actually saw at the time.
You can start with the inbuilt features on your phone and then upgrade to programmes like Adobe Lightroom when you want to take things further (or become a travel blogger…)
In a Nutshell?
Over the years, I’ve used timers, tripods, selfie sticks and the kindness of strangers.
They all work to some degree. As does actually hiring a photographer or joining a photography tour.
But perhaps the most useful lesson I’ve learned is this: don’t forget to include yourself. And, wherever possible, get over yourself and get on with it.
I still have to give myself a talking to when it comes to practising what I preach. It often takes me a day or two to settle into the rhythm of the place and get the confidence to point the lens my way.
Because years from now, the photographs you’ll treasure most probably won’t be the perfectly composed landscapes.
They’ll be the ones that remind you how it felt to stand there. And your unborn children will be grateful, too ;-)